It can be difficult to determine the best spot to place a Starlink installation. To get started, the location can be determined by a set of factors: obstruction clearance, roof-penetration tolerance, structural anchoring, and service access. These factors should outweigh appearance when planning a Starlink installation.
Start with Obstruction Clearance
If the Starlink mount will not be the tallest object in sight at the installation location, Starlink offers a tool to check for obstructions in the Starlink app. Check the exact proposed installation location for obstructions to make sure the view is clear.
It is generally best to place the Starlink at the lowest position that clears obstructions, as easier cable routing and hardware access will simplify future maintenance.
Each mount should be paired with the appropriate Starlink terminal due to differences in hardware between each version and revision.
The Main Installation Choices
There are four common installation choices that suit most users’ needs for their Starlink: the Standard Wall Mount, Pivot Mount, Pipe Adapter, or weighted Ridgeline Mount.
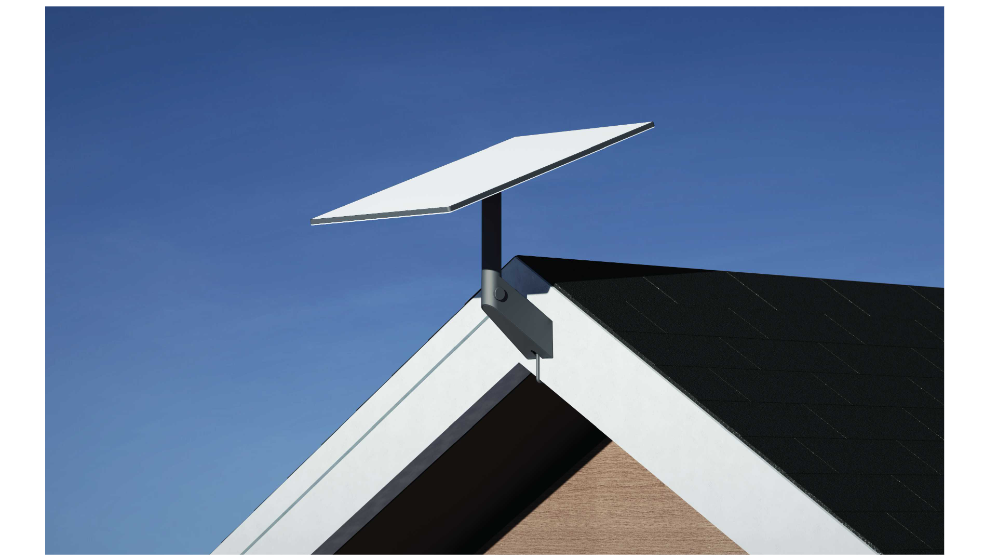
The Standard Wall Mount suits a structural exterior wall or fascia location and projects the dish beyond an overhang while keeping roof penetrations out of the equation. Short of external factors such as trees or tall buildings, this installation can provide a clear view for the Starlink terminal.
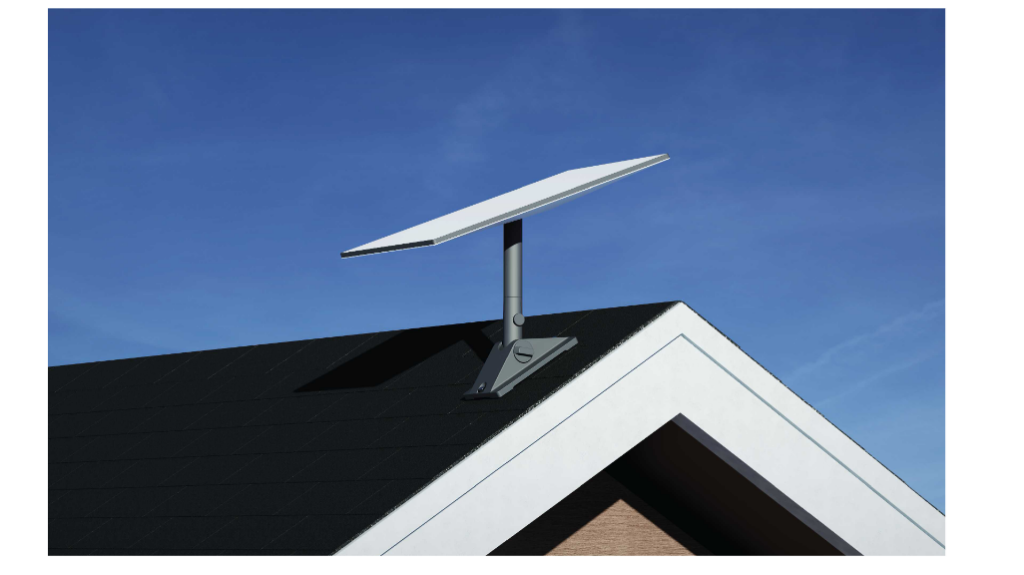
The Pivot Mount is the direct roof option for pitched surfaces, but waterproofing and fastening into the structure may prove to be an inconvenience during installation or future maintenance.
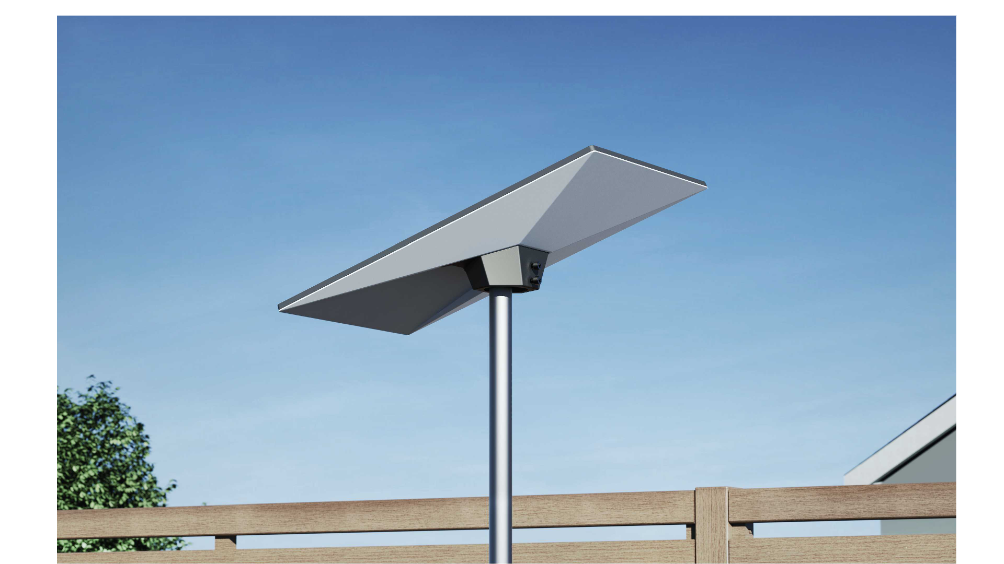
The Pipe Adapter provides a flexible option for users who already have an existing pole with a diameter between 31 mm (1.25 in) and 63.5 mm (2.5 in).
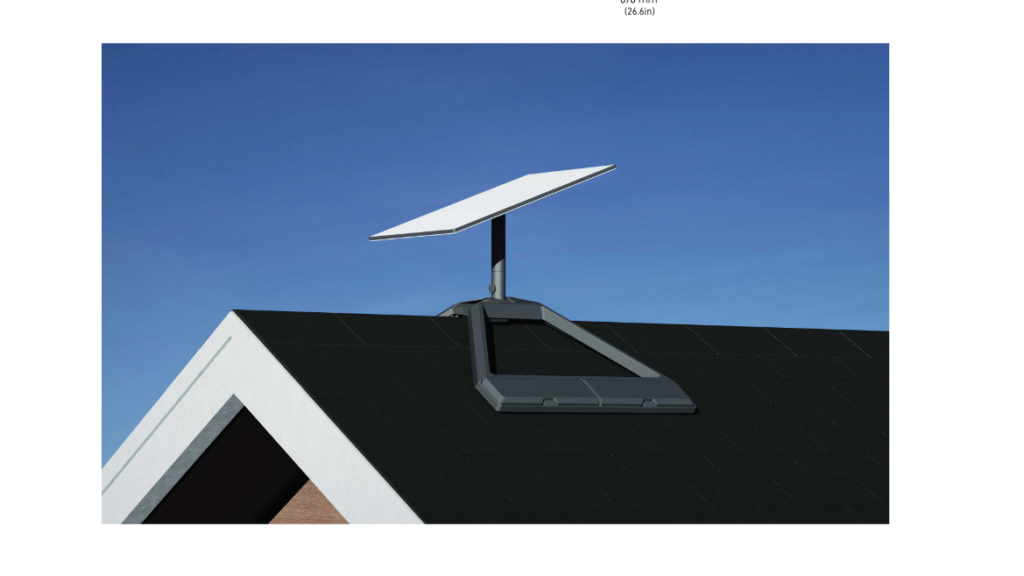
The Ridgeline Mount is similar to a Pivot Mount, but without the permanence of drilling holes into the roof. Weighted by ballasts to support a wind rating of up to 80 kph (50 mph), the Ridgeline Mount provides a non-permanent installation for users who want relatively quick disassembly.
Installation Factors to Consider
In order to ensure a secure installation, fasteners must reach structural material rather than siding or roof finish alone. Every cable entry or roof penetration requires weatherproofing appropriate to the surface.
It is important to check factors such as cable routing, bend radius, drip loops, grounding requirements, snow shedding, and most importantly, safe access before committing to the final position.
For structures with potential concerns, such as steep roofs, difficult heights, uncertain structural support, or electrical safety issues, it may be important to consult a qualified local installer rather than attempting a DIY installation.
For most users, wall mounts are the simplest option, while pipe adapters make sense when an existing pole is available. Pivot mounts prioritize roof installations, while ridgeline mounts avoid drilling at the cost of greater environmental limitations.
Our Referral Code
If you’re here looking for a referral code, don’t worry, we have you covered.
You can sign up to Starlink anywhere in the world and take advantage of a free month using our Starlink Referral Code right here.